Fortunately, you can do Windows 8 USB installation. In this way, you can use your USB stick as the installation media. Here are the steps:
- Make sure your notebook supports booting from USB, you can see it through the BIOS on the boot menu configuration. Find the entry that says Boot, Boot Order, Boot Sequence, or anything about the “boot" and make sure that USB has the first priority on the system.
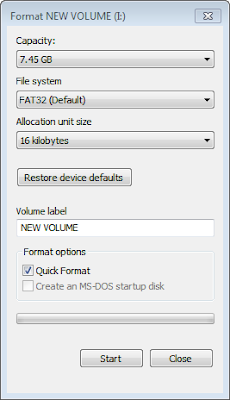
- Format your USB key (at least 4GB) with FAT32 file system. Insert your USB stick in the working computer, open Windows Explorer, right-click the USB drive letter, and select format. In the Format window, you have to make sure FAT32 is selected as File system while other options can be left as is.
- Download Windows 8 ISO file. For 32-bit click here, for 64-bit click here.
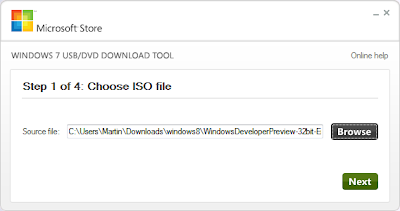
- Download Microsoft’ Windows 7 USB/DVD Tool. Although it was been designed for Windows 7, but it works fine to make Windows 8 USB installer.
- Open Windows 7 USB/DVD tool, select Windows 8 ISO when you asked to provide ISO image from computer then select to copy the contents to the USB stick.
- The program will copy all necessary files to the USB stick and make the SUB stick as a bootable media at the same time.
- Restart your computer, plug in your USB stick and use it to boot (we have set up the boot order in the first step). Finally the installation process should be run at this time.


No comments:
Post a Comment